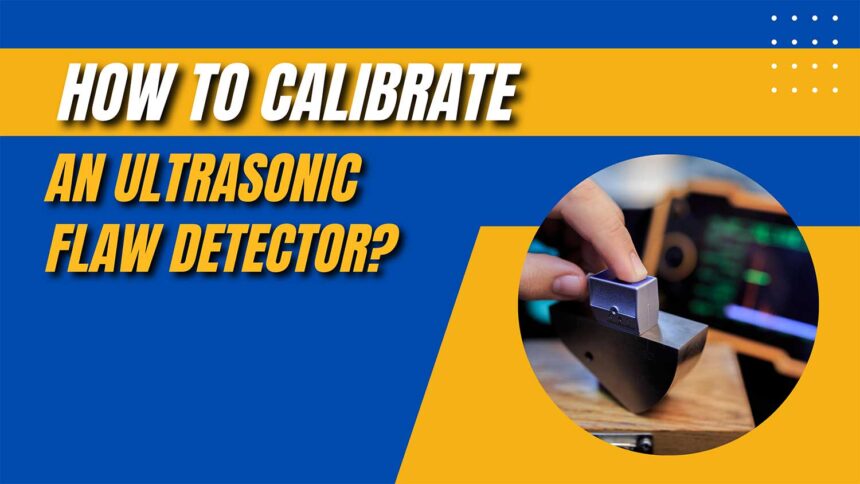
An ultrasonic calibration block is a reference tool used to check the accuracy of the error level present in flaw-detecting devices. A calibration block is an essential tool for quality inspectors as they are constantly verifying the accuracy of flaw detectors. Inspectors typically carry out calibration checks periodically, including daily, weekly, monthly, and yearly. The reason is that flaw-detecting devices tend to accumulate errors over time. Sometimes, due to the increased frequency of operation, a flaw detector can accumulate so much error in a very short time, and an inspector needs to be aware of this.
How to Calibrate an Ultrasonic Flaw Detector?
Calibrating an ultrasonic flaw detector relies on reference tools like calibration blocks to convert time measurements to distance measurements. The reason is that all flaw detectors use the timing of echoes in a precise fashion to measure distances, thickness, or depth of objects. As such, these timings will need an accurate conversion means to get the actual distances. Hence, velocity calibration or the zero calibration method is often the preferred means to achieve this conversion.
To calibrate an ultrasonic flaw detector using the velocity calibration method, you first need to measure and store the speed of sound coming from a reference sample of the test material. This stored value will be used later to calculate the material thickness from the time interval measurements. However, for the Zero calibration method, a sample material with known dimensions serves as the measurement for the flaw detector. This measurement acts as the zero-offset compensation for part of the overall pulse transit time. Still, certain factors like grain structure, material density, and temperature can affect sound velocity and consequently the calibration process.
Conclusion
To wrap up, calibration blocks are critical to ensuring that flaw detectors have no errors and remain properly calibrated over short and long periods. Hence, periodic, and routine calibration is essential to keep flaw detectors working accurately.
NDT-KITS is a competent Chinese calibration block supplier with extensive industry experience and a track record of successfully delivering quality calibration blocks to customers and partners around the globe. With a highly competitive price, NDT-KITS is well positioned with the right team and facility to help you achieve your desired calibration requirements. NDT-KITS’ teeming clients and partners both locally and internationally give numerous feedback of excellent service satisfaction.
[sc name=”5159″][/sc]


